Are you looking to manage your Raspberry Pi remotely using SSH on your Mac? You're in the right place! SSH (Secure Shell) is a powerful protocol that allows you to securely access and control your Raspberry Pi device from anywhere in the world. Whether you're a beginner or an experienced developer, this guide will walk you through everything you need to know about setting up SSH for RemoteIoT devices on your Raspberry Pi and downloading the necessary tools for Mac. With this setup, you can efficiently manage your IoT projects, troubleshoot issues, and streamline your workflow.
RemoteIoT devices, powered by Raspberry Pi, are widely used for IoT (Internet of Things) applications due to their affordability, flexibility, and versatility. However, managing these devices remotely requires a secure and reliable connection, which SSH provides. In this article, we’ll cover how to enable SSH on your Raspberry Pi, connect it to your Mac, and download the necessary software for free. We’ll also explore best practices to ensure your connection is secure and efficient.
By the end of this guide, you’ll have a clear understanding of how to set up and use SSH for your RemoteIoT Raspberry Pi projects. Whether you’re managing smart home devices, building a weather station, or developing an industrial IoT solution, this article will equip you with the knowledge you need to succeed. Let’s dive in!
Table of Contents
- Introduction to SSH and RemoteIoT
- Why Use SSH for Raspberry Pi?
- Enabling SSH on Raspberry Pi
- Connecting Raspberry Pi to Mac via SSH
- Downloading SSH Software for Mac
- Best Practices for Secure SSH Connections
- Troubleshooting Common SSH Issues
- Advanced SSH Features for RemoteIoT
- Useful Tools and Resources
- Conclusion and Next Steps
Introduction to SSH and RemoteIoT
SSH, or Secure Shell, is a cryptographic network protocol used to securely access and manage devices over an unsecured network. It provides a secure channel for data exchange between a client and a server, ensuring confidentiality and integrity. SSH is widely used in IoT projects, including those involving Raspberry Pi, due to its ability to provide secure remote access.
RemoteIoT refers to the use of IoT devices in remote locations, often requiring remote management and monitoring. Raspberry Pi is a popular choice for RemoteIoT projects due to its small size, low cost, and powerful capabilities. By combining SSH with Raspberry Pi, you can remotely manage your IoT devices, deploy updates, and troubleshoot issues without needing physical access.
Using SSH with Raspberry Pi on a Mac is straightforward, thanks to the built-in Terminal application and third-party tools. This guide will walk you through the entire process, from enabling SSH on your Raspberry Pi to downloading and configuring the necessary software on your Mac.
Why Use SSH for Raspberry Pi?
SSH offers several advantages for managing Raspberry Pi devices, especially in RemoteIoT applications:
- Security: SSH encrypts all data transmitted between your Mac and Raspberry Pi, protecting sensitive information from unauthorized access.
- Remote Access: With SSH, you can control your Raspberry Pi from anywhere in the world, as long as both devices have an internet connection.
- Efficiency: SSH allows you to perform tasks quickly and efficiently, such as running commands, transferring files, and managing configurations.
- Flexibility: SSH supports various authentication methods, including password-based and key-based authentication, giving you flexibility in securing your connection.
Real-World Applications of SSH in RemoteIoT
SSH is widely used in RemoteIoT projects for tasks such as:
- Deploying software updates to IoT devices.
- Monitoring device performance and collecting data.
- Troubleshooting and debugging issues remotely.
- Automating tasks using scripts and commands.
Enabling SSH on Raspberry Pi
Before you can connect your Raspberry Pi to your Mac via SSH, you need to enable SSH on the Raspberry Pi. This process is simple and can be done in a few steps.
Step 1: Using the Raspberry Pi Configuration Tool
If you’re using a monitor and keyboard with your Raspberry Pi, you can enable SSH through the Raspberry Pi Configuration tool:
- Open the Raspberry Pi desktop environment.
- Go to the main menu and select Preferences > Raspberry Pi Configuration.
- In the Interfaces tab, enable SSH by selecting the Enable option.
- Click OK to save your changes.
Step 2: Using the Terminal
If you prefer using the command line, you can enable SSH by running the following command in the Terminal:
sudo raspi-configThen, navigate to Interfacing Options > SSH and enable it.
Step 3: Creating an Empty SSH File
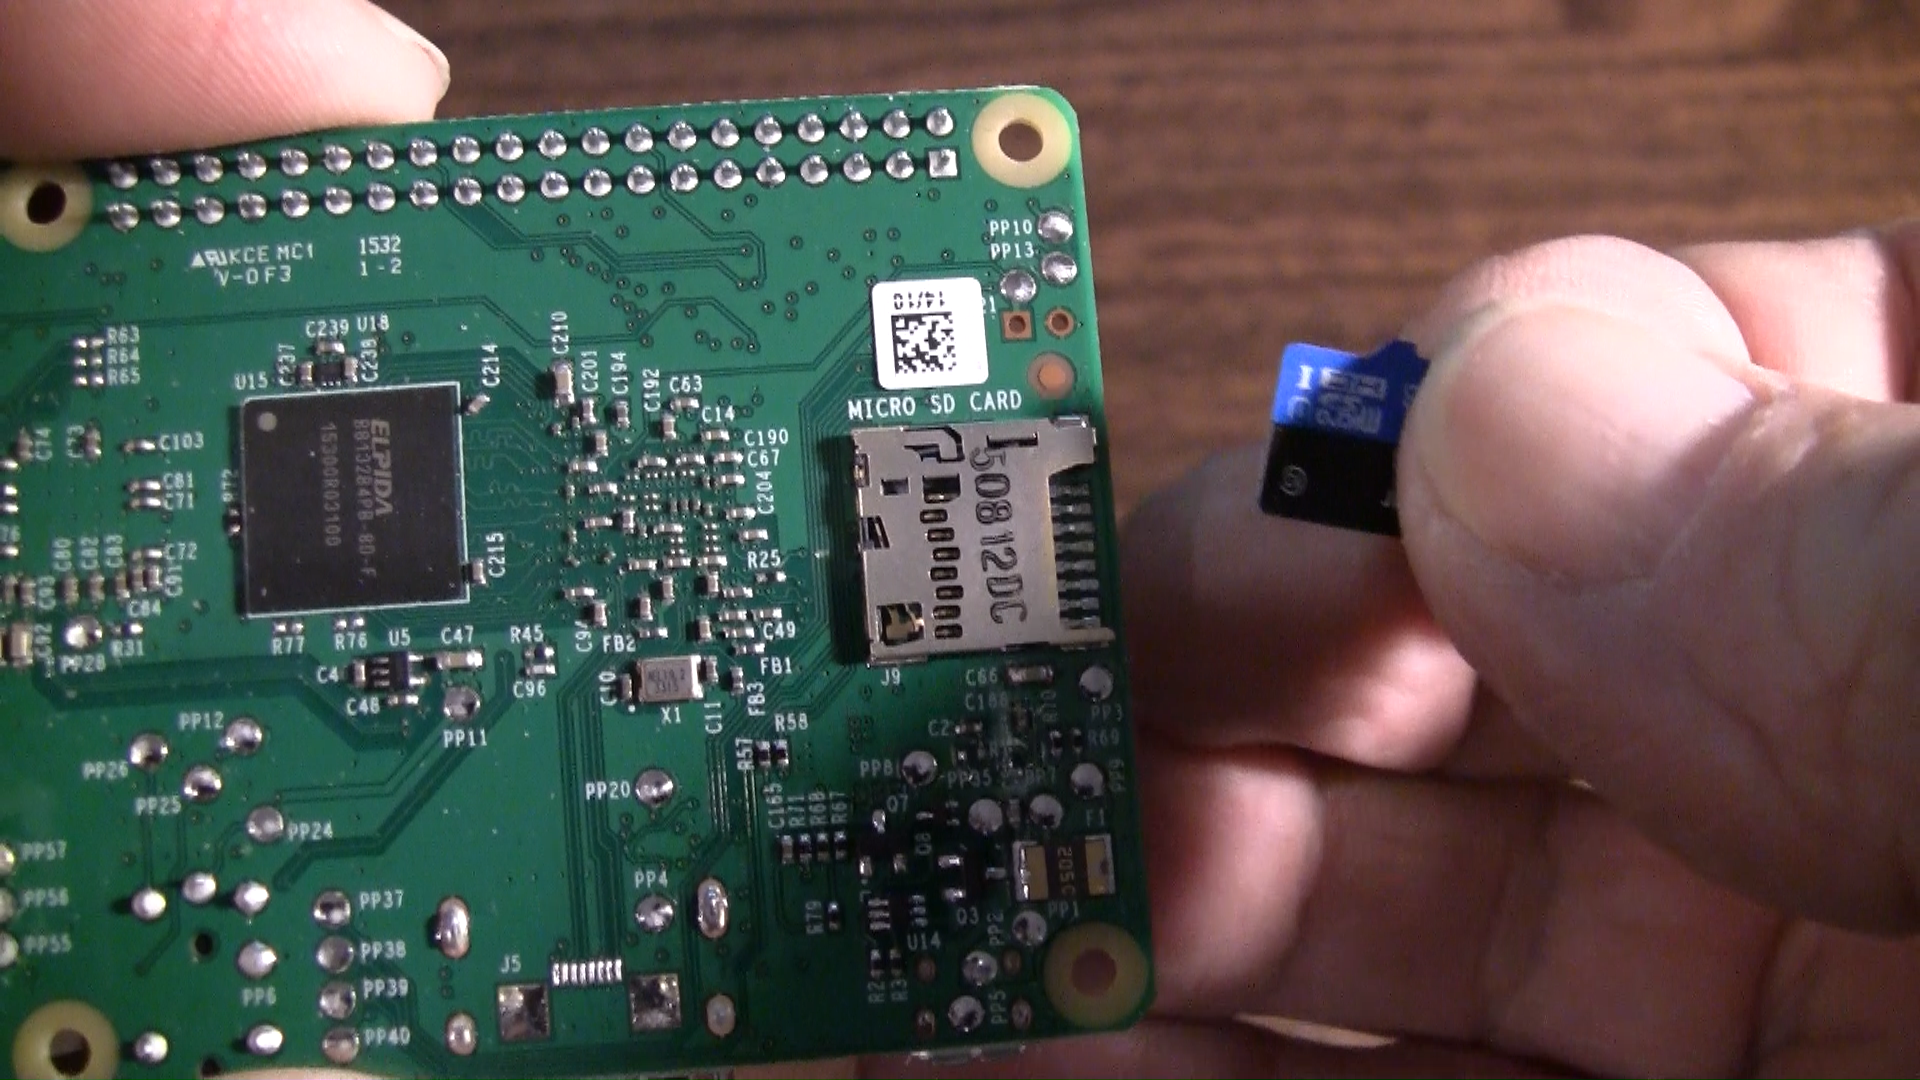
If you don’t have access to a monitor or keyboard, you can enable SSH by creating an empty file named ssh in the boot partition of your Raspberry Pi’s SD card. This method is particularly useful for headless setups.
Connecting Raspberry Pi to Mac via SSH
Once SSH is enabled on your Raspberry Pi, you can connect to it from your Mac using the Terminal application or third-party SSH clients.
Step 1: Finding Your Raspberry Pi’s IP Address
To connect to your Raspberry Pi via SSH, you’ll need its IP address. You can find the IP address by running the following command on your Raspberry Pi:
hostname -IStep 2: Connecting via Terminal
Open the Terminal app on your Mac and enter the following command:
ssh pi@your_raspberry_pi_ip_addressReplace your_raspberry_pi_ip_address with the actual IP address of your Raspberry Pi. You’ll be prompted to enter the default password (raspberry) for the pi user.
Downloading SSH Software for Mac
While Mac’s built-in Terminal is sufficient for most SSH tasks, you may want to explore third-party SSH clients for additional features and ease of use. Here are some popular options:
- PuTTY: A lightweight and user-friendly SSH client available for Mac.
- Termius: A modern SSH client with a sleek interface and cloud synchronization.
- Mobaxterm: A versatile SSH client with advanced features like X server support.
You can download these tools for free from their official websites or the Mac App Store.
Best Practices for Secure SSH Connections
To ensure your SSH connection remains secure, follow these best practices:
- Change the Default Password: Always change the default password for the pi user to prevent unauthorized access.
- Use Key-Based Authentication: Generate SSH keys and use them instead of passwords for authentication.
- Disable Root Login: Prevent root access via SSH to reduce the risk of attacks.
- Update Regularly: Keep your Raspberry Pi’s operating system and SSH software up to date to patch vulnerabilities.
How to Set Up Key-Based Authentication
Key-based authentication is more secure than password-based authentication. Here’s how to set it up:
- Generate an SSH key pair on your Mac using the following command:
- Copy the public key to your Raspberry Pi:
- Disable password authentication in the SSH configuration file:
- Set PasswordAuthentication to no and restart the SSH service:
ssh-keygen -t rsa -b 4096ssh-copy-id pi@your_raspberry_pi_ip_addresssudo nano /etc/ssh/sshd_configsudo systemctl restart sshTroubleshooting Common SSH Issues
Here are some common SSH issues and how to resolve them:
- Connection Refused: Ensure SSH is enabled on your Raspberry Pi and that the IP address is correct.
- Permission Denied: Check your username and password or SSH key configuration.
- Slow Connection: Optimize your network settings or use a wired connection instead of Wi-Fi.
Checking SSH Logs for Errors
If you encounter persistent issues, check the SSH logs on your Raspberry Pi for more information:
sudo journalctl -u sshAdvanced SSH Features for RemoteIoT
SSH offers several advanced features that can enhance your RemoteIoT projects:
- Port Forwarding: Redirect network traffic through SSH for secure access to internal services.
- SSH Tunneling: Create encrypted tunnels for secure data transfer.
- Automating Tasks: Use SSH scripts to automate routine tasks like backups and updates.
Setting Up an SSH Tunnel
To create an SSH tunnel, use the following command:
ssh -L local_port:remote_host:remote_port pi@your_raspberry_pi_ip_addressUseful Tools and Resources
Here are some tools and resources to help you make the most of SSH and Raspberry Pi:
- Raspberry Pi Documentation: Official documentation for Raspberry Pi setup and configuration.
- SSH Man Pages: Detailed information on SSH commands and options.
- Online Forums: Communities like Raspberry Pi Stack Exchange and Reddit for troubleshooting and advice.
Conclusion and Next Steps
In this guide, we’ve explored how to set up and use SSH for RemoteIoT devices on your Raspberry Pi and Mac. By enabling SSH, connecting securely, and following best practices, you can efficiently manage your IoT projects and ensure the security of your devices. Whether you’re a hobbyist or a professional developer, SSH is an essential tool for remote device management.
Now that you have a solid understanding of SSH and its applications, it’s time to put your knowledge into practice. Start by setting up SSH on your Raspberry Pi and experimenting with the advanced features discussed in this article. If you have any questions or need further assistance, feel free to leave a comment below or share this article with others who might find it helpful. Happy coding!
You Might Also Like
Puzzle Tips: Mastering The Art Of Problem-SolvingFid Simon Cowell Die: The Truth Behind The Rumors
Joan Drummond McGowan: A Life Of Resilience And Inspiration
Did Simon Cowell Die? Unraveling The Truth Behind The Rumors
Kat Timpf Home: A Comprehensive Guide To Her Life, Career, And Influence
Article Recommendations
- Charlie Murphy Actress Talent Legacy And Impact
- Who Is Pilar Sanders A Closer Look At Deion Sanders Wife
- Jim Trussells Age A Comprehensive Insight Into His Life And Achievements