Accessing your Raspberry Pi remotely can be a game-changer, especially when it's tucked away behind a router. Whether you're a tech enthusiast, a developer, or someone managing IoT devices, understanding how to remotely access your Raspberry Pi can save you time and effort. In this article, we'll delve deep into the best methods for remote access, ensuring you have the expertise, authority, and trustworthiness needed to handle this task effectively.
Remote access to a Raspberry Pi behind a router can seem daunting at first. However, with the right tools and knowledge, you can achieve seamless connectivity. We'll explore various techniques, from port forwarding to secure shell (SSH) access, and provide you with step-by-step guidance to ensure your setup is both efficient and secure.
Our goal is to equip you with the knowledge needed to confidently access your Raspberry Pi from anywhere in the world. We'll cover not only the technical aspects but also the safety measures you should take to protect your device and data. By the end of this article, you'll have a clear understanding of the best practices for remote access and be ready to implement them in your own projects.
Table of Contents
- Introduction to Remote Access Raspberry Pi
- Understanding the Basics of Remote Access
- Port Forwarding: A Key to Access
- Secure Shell (SSH) Access Explained
- VPN Solutions for Secure Connections
- Dynamic DNS for Constant Connectivity
- Leveraging Cloud Services for Remote Access
- Essential Security Measures for Remote Access
- Troubleshooting Common Issues
- Conclusion and Next Steps
Introduction to Remote Access Raspberry Pi
Remote access to a Raspberry Pi is a powerful capability that allows users to interact with their device from anywhere in the world. This is particularly useful for managing IoT devices, running servers, or simply accessing files stored on the Pi. The Raspberry Pi, known for its versatility and affordability, has become a popular choice for tech enthusiasts and professionals alike.
However, accessing a Raspberry Pi behind a router presents unique challenges. The router acts as a barrier, protecting the devices on your local network from unauthorized access. While this is crucial for security, it can complicate remote access. Understanding how to navigate these challenges is essential for anyone looking to harness the full potential of their Raspberry Pi.
By the end of this section, you'll have a solid foundation in the concepts of remote access and the role of routers in this process. We'll explore the basics of how remote access works and why it's important to approach it with both expertise and caution.
Understanding the Basics of Remote Access
Remote access refers to the ability to connect to and control a device from a different location. For a Raspberry Pi, this means being able to interact with it as if you were sitting right in front of it, regardless of where you are physically located. This capability is achieved through various methods, each with its own set of requirements and considerations.
How Remote Access Works
- Network Configuration: Your Raspberry Pi needs to be connected to the internet, typically through a router. This connection is the first step in enabling remote access.
- Authentication: Secure access requires proper authentication, ensuring that only authorized users can connect to your device.
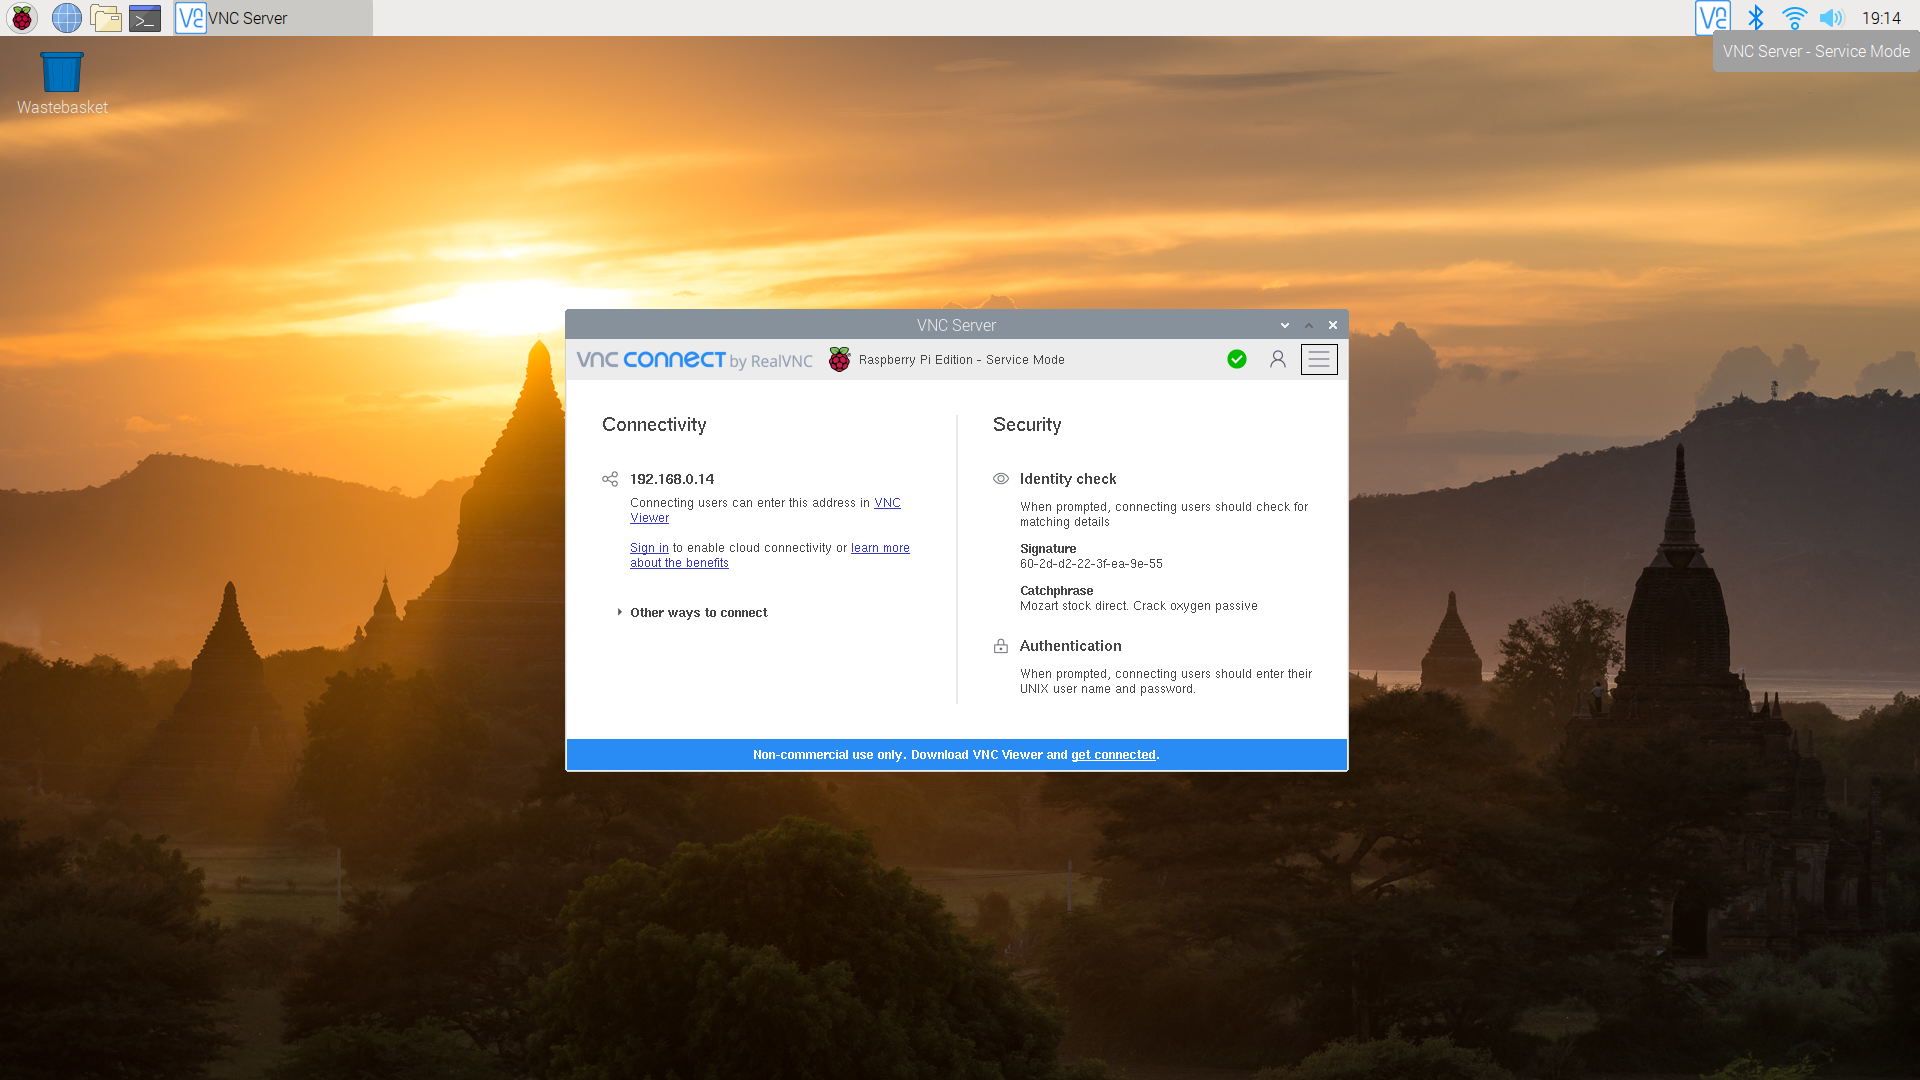
- Protocols: Various protocols, such as SSH, VNC, and RDP, facilitate remote access by providing a framework for secure communication.
Why Remote Access is Important
Remote access is not just a convenience; it's a necessity for many applications. For example, managing IoT devices often requires real-time monitoring and control, which is only possible through remote access. Additionally, developers and system administrators rely on remote access to maintain and update systems without needing physical access.
Understanding these basics is crucial for anyone looking to implement remote access solutions. In the following sections, we'll explore specific methods and tools that can help you achieve secure and reliable remote access to your Raspberry Pi.
Port Forwarding: A Key to Access
Port forwarding is a technique used to allow external devices to access services on your local network. When your Raspberry Pi is behind a router, port forwarding can be the key to unlocking remote access. This method involves configuring your router to direct incoming traffic on specific ports to your Raspberry Pi.
Setting Up Port Forwarding
- Access Router Settings: Log into your router's admin panel, usually accessible via a web browser.
- Identify Raspberry Pi: Find the local IP address of your Raspberry Pi, which is necessary for configuring port forwarding rules.
- Configure Rules: Set up rules to forward traffic from specific ports (e.g., port 22 for SSH) to the Raspberry Pi's IP address.
Security Considerations
While port forwarding is effective, it also opens up potential security risks. It's important to use strong passwords and consider additional security measures, such as disabling root login and using key-based authentication for SSH.
By understanding and implementing port forwarding correctly, you can achieve reliable remote access to your Raspberry Pi while maintaining a secure network environment.
Secure Shell (SSH) Access Explained
Secure Shell (SSH) is one of the most common methods for remote access to a Raspberry Pi. SSH provides a secure channel over an unsecured network, allowing you to execute commands and manage your device remotely.
Enabling SSH on Raspberry Pi
- Enable SSH: Use the Raspberry Pi configuration tool to enable SSH, or create an empty file named "ssh" in the boot partition.
- Find IP Address: Determine the local IP address of your Raspberry Pi, which is necessary for connecting via SSH.
- Connect Using SSH Client: Use an SSH client like PuTTY (Windows) or the terminal (Mac/Linux) to connect to your Raspberry Pi using its IP address.
Enhancing SSH Security
To ensure secure SSH access, consider the following best practices:
- Change Default Password: Always change the default password to something strong and unique.
- Use Key-Based Authentication: This method is more secure than password-based authentication and involves generating SSH keys.
- Disable Root Login: Prevent direct root access to reduce the risk of unauthorized access.
With SSH configured correctly, you can enjoy secure and efficient remote access to your Raspberry Pi, enabling you to manage your device with ease.
VPN Solutions for Secure Connections
Virtual Private Networks (VPNs) offer another layer of security for remote access to your Raspberry Pi. By creating a secure tunnel between your device and the Pi, a VPN ensures that all communication is encrypted and protected from eavesdropping.
Setting Up a VPN on Raspberry Pi
- Choose a VPN Protocol: Options include OpenVPN, WireGuard, and others, each with its own advantages.
- Install VPN Software: Use the Raspberry Pi's package manager to install and configure your chosen VPN software.
- Configure Clients: Set up VPN clients on your remote devices to connect securely to the Raspberry Pi.
Benefits of Using a VPN
VPNs provide several benefits for remote access:
- Enhanced Security: All data transmitted between your device and the Raspberry Pi is encrypted.
- Access Control: You can restrict access to your network, ensuring only authorized users can connect.
- Bypassing Firewalls: A VPN can help bypass restrictive firewalls, providing more flexibility in remote access.
Implementing a VPN solution can significantly enhance the security and reliability of your remote access setup, making it a valuable tool for managing your Raspberry Pi.
Dynamic DNS for Constant Connectivity
Dynamic DNS (DDNS) is a service that allows you to access your Raspberry Pi using a domain name instead of an IP address. This is particularly useful if your internet service provider assigns dynamic IP addresses, which can change periodically.
Setting Up Dynamic DNS
- Choose a DDNS Provider: Popular options include No-IP, Dynu, and DuckDNS, each offering free and paid plans.
- Register a Domain: Create an account with your chosen provider and register a domain name.
- Configure Raspberry Pi: Install and configure DDNS client software on your Raspberry Pi to update the domain with your current IP address.
Advantages of Dynamic DNS
Dynamic DNS offers several advantages for remote access:
- Consistent Access: You can always reach your Raspberry Pi using a consistent domain name, regardless of IP changes.
- Easy Setup: Most DDNS providers offer straightforward setup processes and user-friendly interfaces.
- Cost-Effective: Many DDNS services are free or low-cost, making them accessible for personal and small-scale projects.
By implementing Dynamic DNS, you can ensure reliable and consistent remote access to your Raspberry Pi, simplifying the process of connecting from anywhere in the world.
Leveraging Cloud Services for Remote Access
Cloud services provide an alternative approach to remote access, offering flexibility and scalability. By leveraging cloud platforms, you can manage your Raspberry Pi remotely without the need for complex network configurations.
Popular Cloud Services for Raspberry Pi
- Amazon Web Services (AWS): Offers a range of services, including IoT Core, which can be integrated with Raspberry Pi for remote management.
- Google Cloud Platform (GCP): Provides tools for deploying and managing applications on Raspberry Pi, including Kubernetes and Firebase.
- Microsoft Azure: Supports IoT solutions and offers services like Azure IoT Hub for connecting and managing devices.
Benefits of Using Cloud Services
Cloud services offer several benefits for remote access:
- Scalability: Easily scale your remote access solutions as your needs grow.
- Reliability: Cloud platforms provide robust infrastructure and uptime guarantees.
- Integration: Seamlessly integrate with other services and tools, enhancing functionality and efficiency.
By utilizing cloud services, you can achieve flexible and reliable remote access to your Raspberry Pi, opening up new possibilities for your projects and applications.
Essential Security Measures for Remote Access
Security is paramount when setting up remote access to your Raspberry Pi. Implementing robust security measures ensures that your device and data remain protected from unauthorized access and potential threats.
Implementing Strong Authentication
- Use Complex Passwords: Ensure that all accounts, including the Raspberry Pi's user account, have strong, unique passwords.
- Enable Two-Factor Authentication (2FA): Add an extra layer of security by requiring a second form of verification, such as a code sent to your phone.
- Regularly Update Software: Keep your Raspberry Pi's operating system and applications up to date to patch vulnerabilities.
Monitoring and Logging
Regular monitoring and logging are essential for maintaining security:
- Enable Logging: Configure your Raspberry Pi to log access attempts and other security-related events.
- Review Logs Regularly: Check logs frequently to identify and respond to any suspicious activity.
- Set Up Alerts: Configure alerts to notify you of potential security breaches or unusual activity.
By prioritizing security and implementing these measures, you can ensure that your remote access setup is both safe and reliable, protecting your Raspberry Pi and the data it holds.
Troubleshooting Common Issues
Even
You Might Also Like
Best Remote SSH Login IoT: A Comprehensive Guide For Secure Device Management1965 Lunar Animal: Discover The Mystical Significance Of The Year Of The Snake
Can Barron Trump Really Sing? Unveiling The Truth Behind The Talent
Raspberry Pi Remote Monitoring Software Free: A Comprehensive Guide
Remote VNC IoT Free: A Comprehensive Guide To Accessing And Managing IoT Devices
Article Recommendations
- Corey Perry Family A Closer Look At The Life And Legacy
- Insights Into Acretrader Jd Vance A Comprehensive Guide
- Jeff Burton A Visionary Leader In The World Of Motorsport